
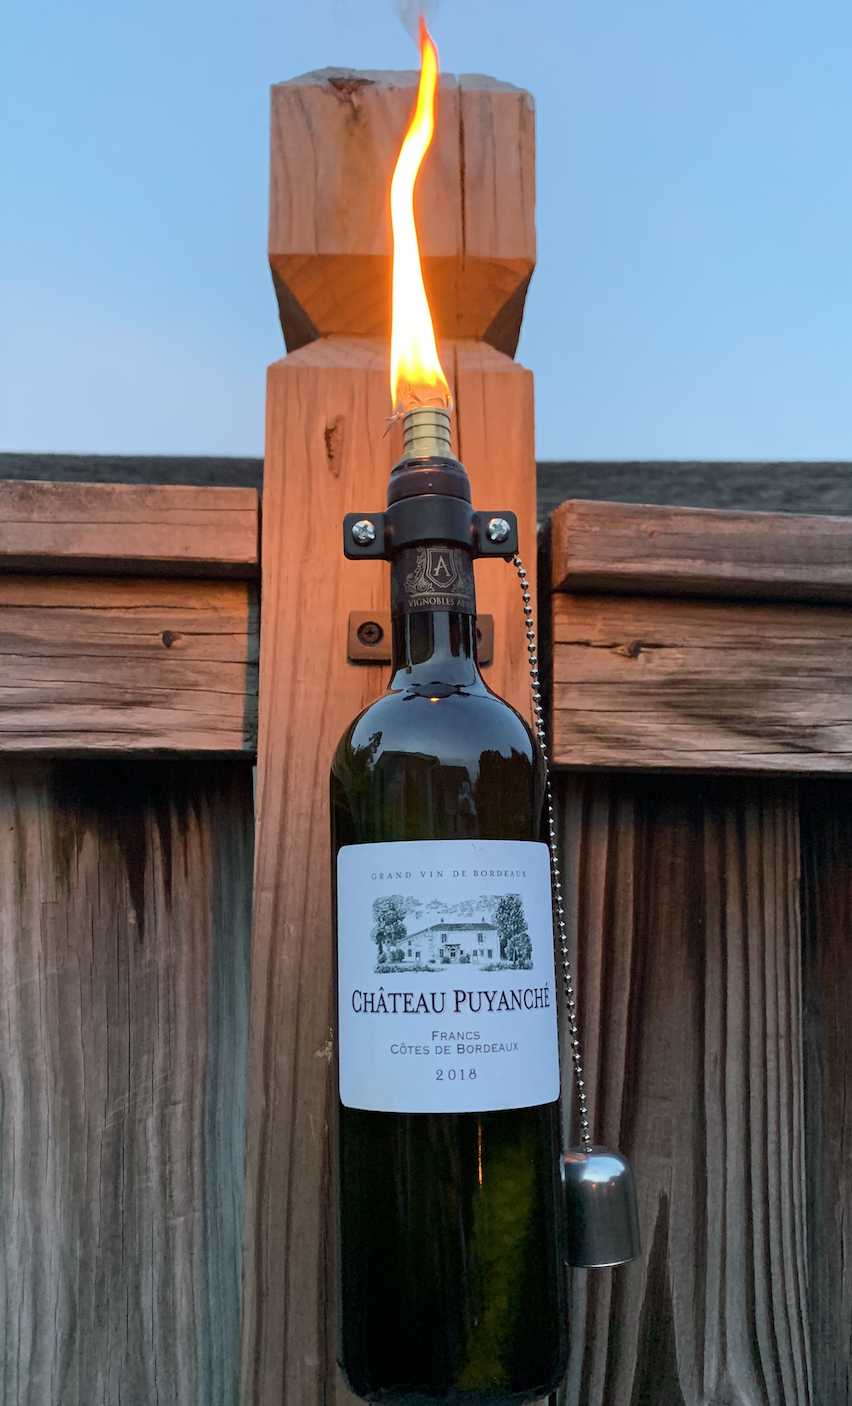
Did you know that you can recycle a wine bottle by utilizing it as a tiki torch? Now that the KnowWines crew has moved to in a small patio home with a wood fence, the surroundings were perfect for a fence mounted wine bottle tiki torch. This is a fun craft for spring and summer months when warm summer breezes also bring buzzing and biting insects.
Before we dive into this fun craft though, a little bit about the KnowWines blog. We are an Amazon.com affiliate and we do receive a small commission if you purchase items through our affiliate links at no cost to you. The commissions we receive help us pay for web hosting fees, our podcast, products to test, and other costs associated with running this site. Thanks for using our affiliate links and supporting our independent blog!
Wine Bottle Torch? Whiskey Bottle Torch?
First you’ll need to decide —do you want a wine bottle torch or a whiskey bottle torch? Then you’ll need to decide if you want to keep the label on the bottle or if you want to remove the label. Thankfully the wick in any tiki torch kit is universal for wine or whiskey bottles, so you can also decide after you’ve gathered the rest of your tiki torch supplies.
What Supplies Do I Need to Make a Wine Bottle Tiki Torch?
In addition to a wine (or whiskey) bottle, you will need the following:
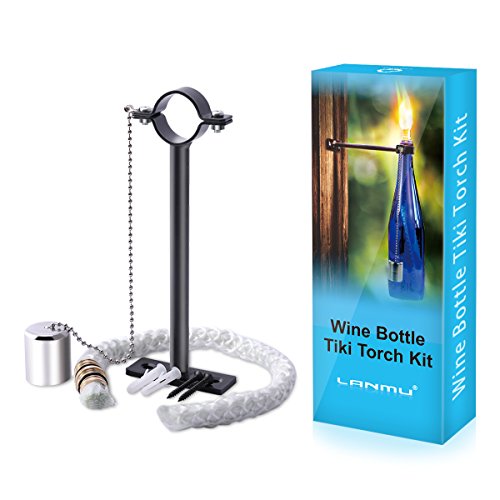
Tiki Torch Kit
We liked the LANMU wine or whiskey tiki torch kit from Amazon. It comes with the wick, a clamp, two washers, a wick cap, and a wick holder. Also included are additional screws for attaching your wine bottle tiki torch to a fence post, as well as two screw anchors if you desire to attach the torch to a concrete surface.
Citronella Scented Tiki Torch Fuel
You can get citronella scented tiki torch fuel online (ASIN B00CAG45MQ ) or pick some up at your local hardware store. We prefer the Tiki brand as it’s super easy to pour.
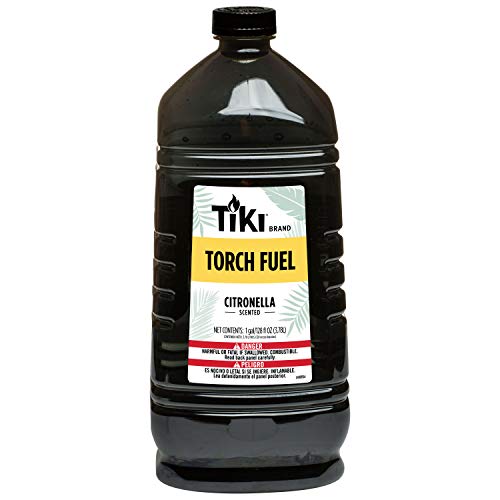
For one wine bottle tiki torch, you’ll need at least 750 mL (25 ounces) of tiki torch fuel. If you only want to fill your wine bottle half full, then 50 ounces will fill four wine bottle torches.
Warning: Be sure sure to keep this product out of the reach of pets or small children — place it on a high shelf in the garage or in a locked cabinet with other household or automotive chemicals.
Phillips Screwdriver for Installation
We happen to have an abundance of screwdrivers we’ve accumulated over the years, so we already had a Phillips screwdriver on hand. If that’s not the case for you, however, we recommend one like this:

Gloves for Protection
If you’re concerned about getting the citronella tiki oil on your hands, consider wearing disposable gloves when you are transferring oil into the wine bottle.
And if you’re concerned about breaking the wine bottle with your super-human hand strength, then we recommend wearing leather gloves when attaching the clamp to the wine bottle neck.
How to Assemble Your Wine Bottle Tiki Torch


The wine or whiskey bottle tiki torch is very easy to assemble. Let’s get started!
Place the two washers on the wick holder (on the bottom side of the wick holder that goes into the bottle).
Slide the wick into the wick holder, leaving about one inch of the wick sticking out to light later.
Attach the clamp to the empty wine bottle neck using the provided screws.
Attach the wick cover to the clamp.
Attach the wine bottle tiki torch to a wooden (or concrete) surface using the provided screws.
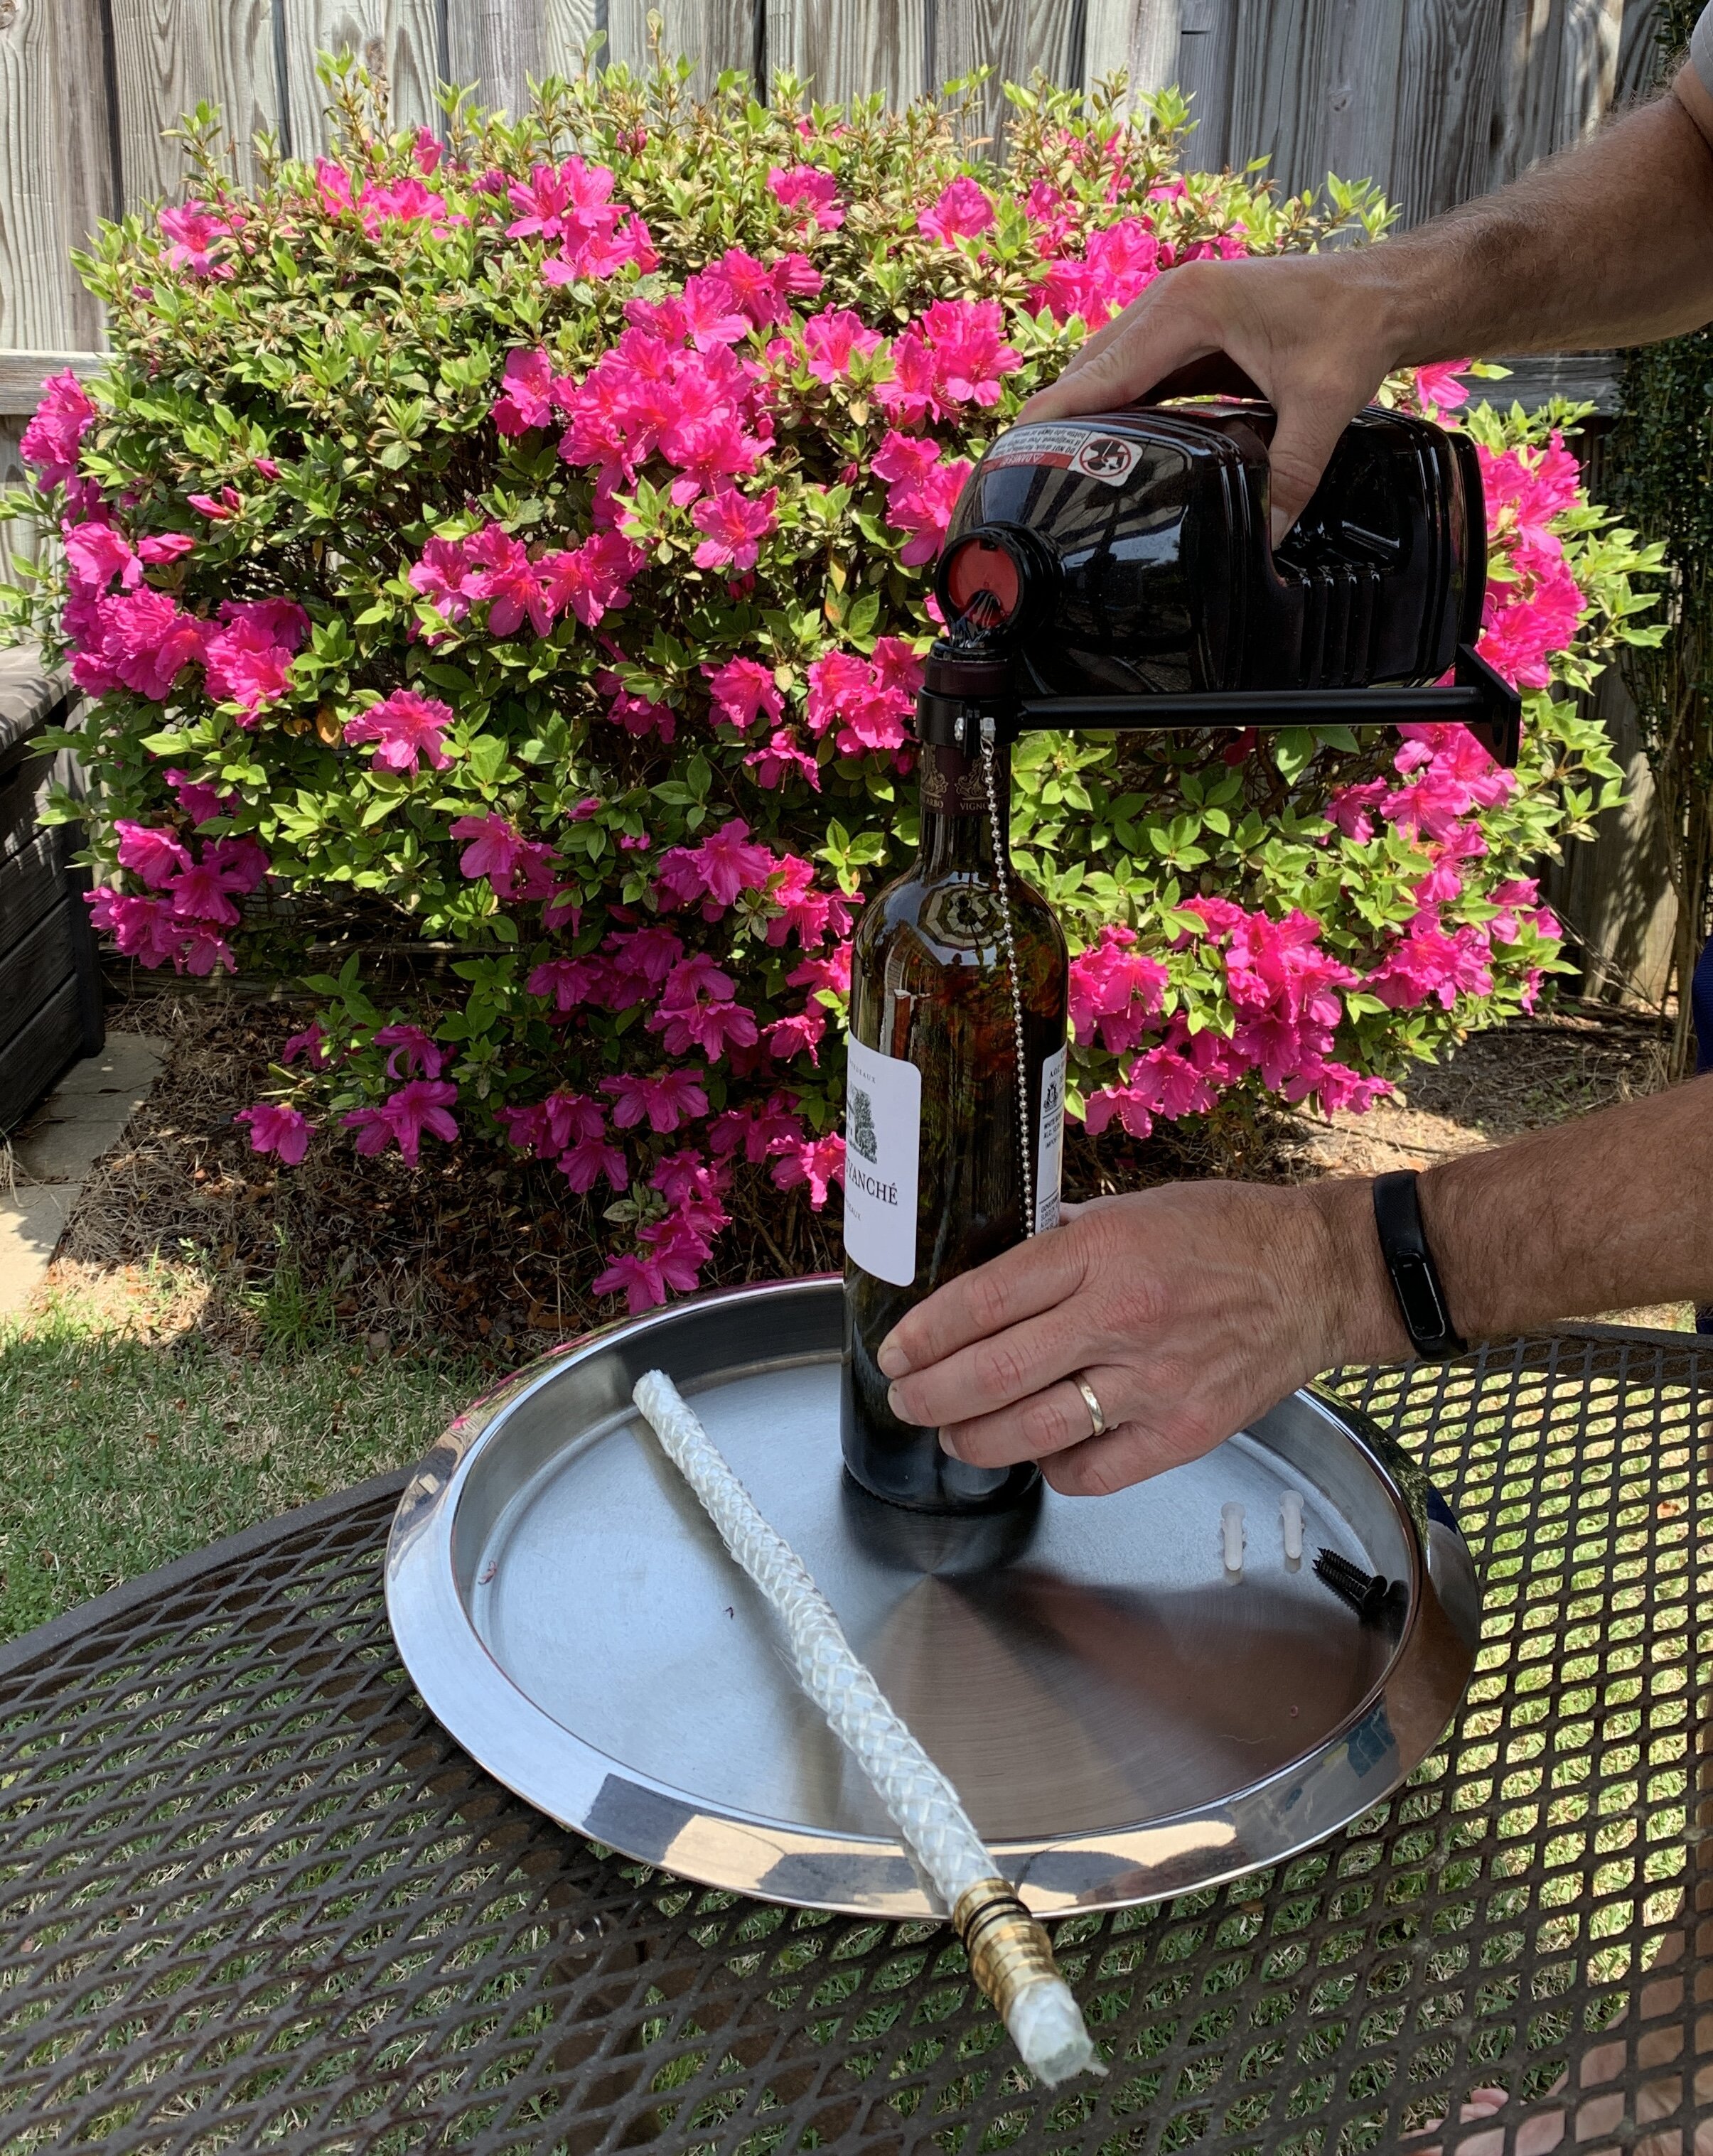
Fill the bottle with tiki torch fuel. Alternatively, you can fill the wine bottle with tiki torch fuel before attaching it to a fence if a second person is available to hold the wine bottle during installation.
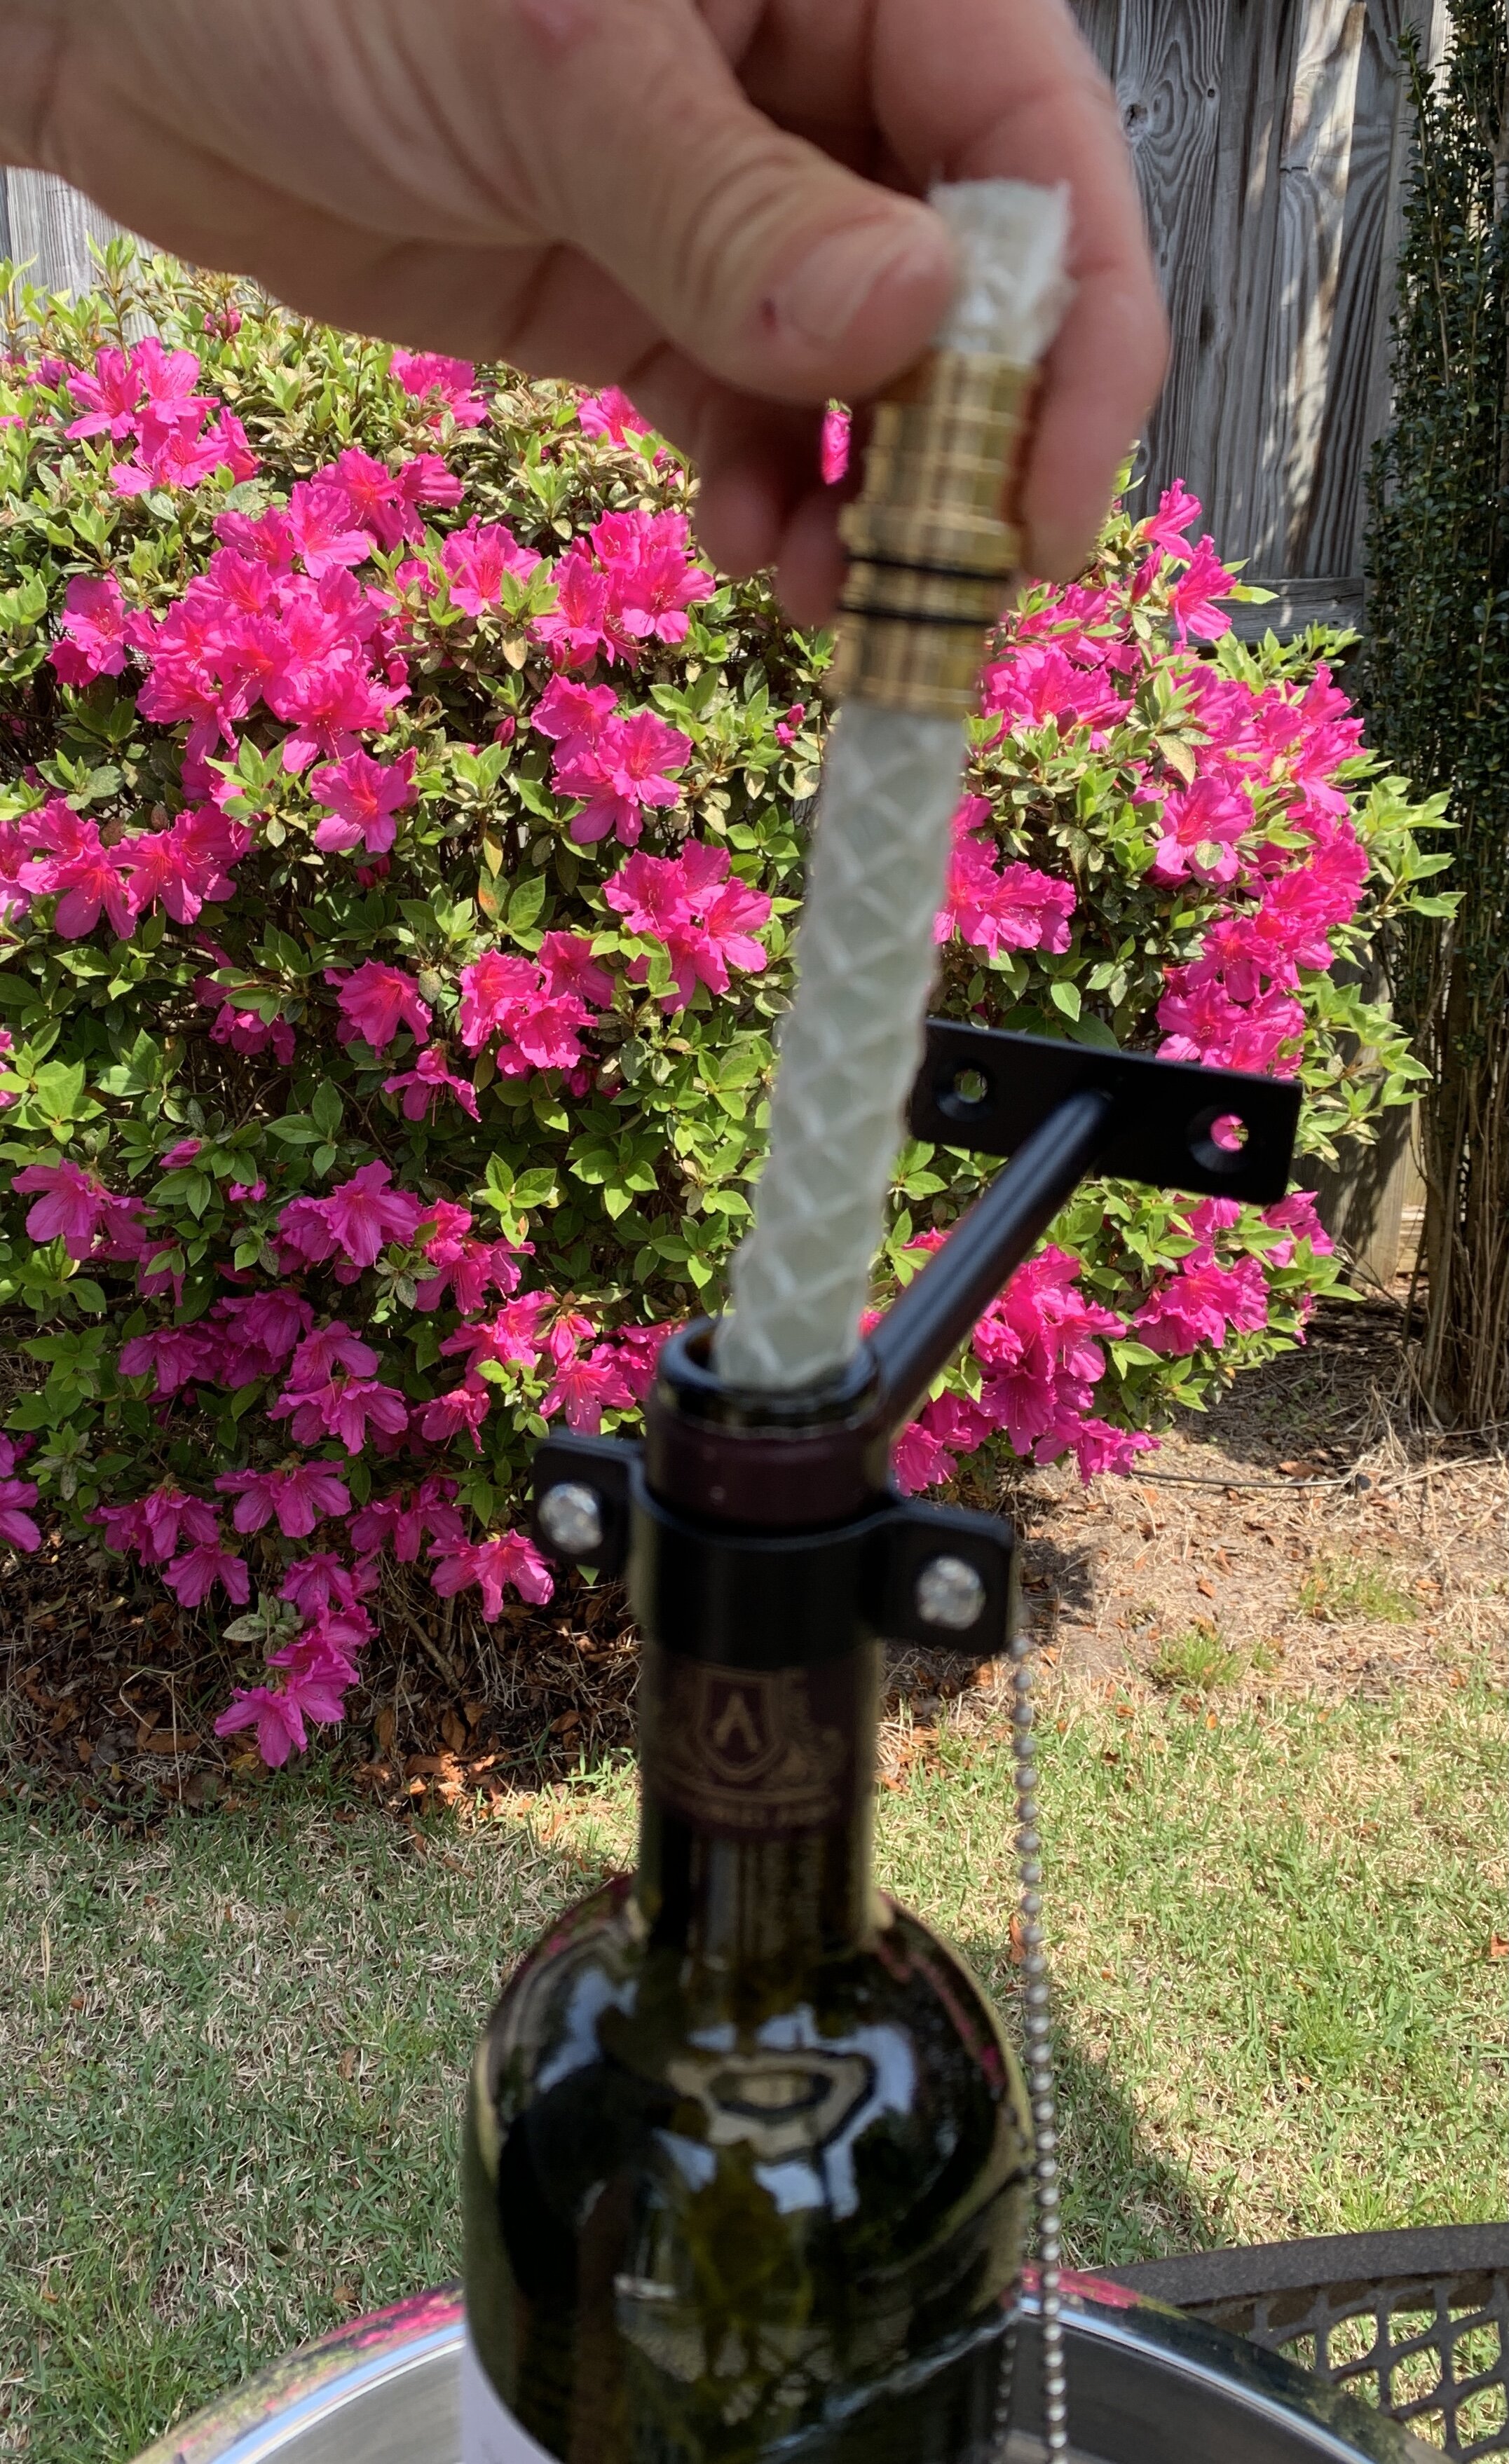
Insert the pre-moistened wick into the wine bottle. Alternatively, just wait a few minutes until the oil works its way up the wick via capillary action before lighting.
Light and enjoy!
Prefer a video? LANMU gives these easy YouTube instructions for assembling the tiki torch:
Tips for Making Your DIY Wine Bottle Tiki Torch
In summary, it took two of us less than five minutes to assemble and mount the wine bottle tiki torch. This was one of the easiest and fastest DIY projects we’ve ever done. While someone could easily do this project themselves, it would go much faster with two people.
There were only two aspects of this project we would like to see improved:
The cap seemed a little small for the wick, but perhaps it won’t look so small once the wick burns down a bit.
The screws provided were on the cheap side.
The screws included in the kit were sufficient to do the job of mounting the clamp to the neck of the wine bottle, though they were a little short.
The screws included in the kit were sufficient for mounting the tiki torch to a pine privacy fence. If you need to mount the tiki torch to a concrete wall or other hard substrate, we recommend that you purchase more substantial screws and anchors and use a drill with a concrete bit to install.
How to Mount a Wine Bottle Tiki Torch to Concrete, Brick, or Stone
Instead of using the provided screws and anchor, we recommend purchasing this item if you don’t already have it - a masonry bit for a power drill and an assortment of masonry anchors and masonry screws.

Keep in mind that this masonry bit set is intended for smaller projects (like installing a small tiki torch to concrete, brick, or stone!) and not for installing large objects such as a 40 pound mirror.
Wine Bottle Tiki Torch: The KnowWines Conclusion
If you are looking to add some fun decor to your deck or patio with the added bonus of recycling a wine bottle and repelling biting insects with citronella, you may enjoy this small DIY project.
Overall, the project was easy to complete and the tools provided in the kit were sufficient for the task of installing the wine bottle tiki torch onto a pine privacy fence. If you need to instal the wine bottle torch on a sturdier surface, we highly recommend purchasing the proposed alternative masonry bit, anchor, and screws for a more robust install.
Cheers!